Ahhhhhhhhh. Machining and fabricating sweet parts is nice but doing it for your own bike on a nice sunny day just seems to be that much better. Something about the sun, sky, and the self determination of being on your own that makes the air taste a bit sweeter. Or maybe its just some new type of pollution.
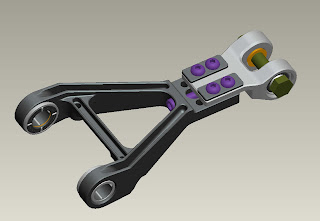
The upper control arm is going to be a 2 step type of part. Because it is the main adjustment point for fast turning/front weighted bike to stable/rearward weight bias I needed to be able to quickly make and test changes while keeping a rigid part that will not introduce any vagueness into the system. The solution I came up with is a tongue-in-groove sliding joint with a screw adjustment to keep the setting under heavy load.
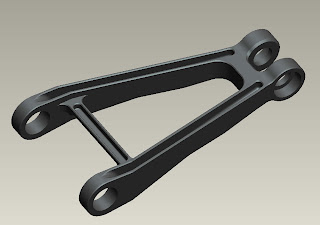
This 2 piece design will allow quick and accurate trail changes in the hot pits with no disassembly or swapping of parts. For our first round of bikes and testing this is what we will use. The plan is that testing will reveal several preferred settings which we will then machine in a fixed length one piece arm:
This one piece arm will be lighter and, more importantly, more rigid laterally. The overall stiffness will be similar to the 2 piece design but the introduction of a bolted joint into an assembly inevitably results in the introduction of tiny amounts of hysteresis which can possibly have a negative effect on performance and feel. As a tuner it is nice to have a chassis with adjustments at every pivot point but the cumulative affect of so many bolted joints can compromise the overall performance of the chassis. This one joint in the assembly should not have significant adverse effects and will let us quickly dial in to optimal trail settings for a variety of conditions.
Now, on to machining……..
This is a process we’ve all seen before: billet, vice machining, flip, subplate machining, then repeat. The suspense is gone but the cool pics are all new.
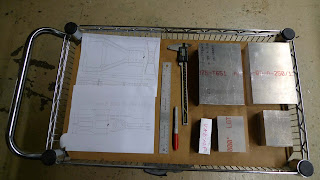
Here’s the pile of billet that will soon become two complete control arms:
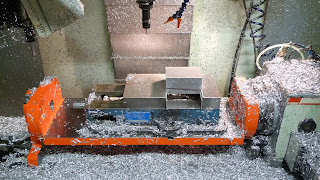
Here’s the mill with the trunnion and vice mounted on it with stock clamped:
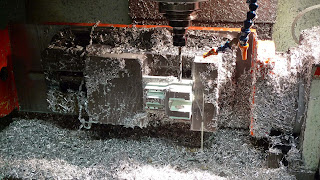
Machining in progress:
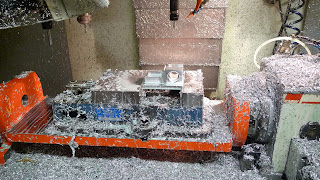
Done with the first step of upright end machining:
Now on to the chassis pivot end:
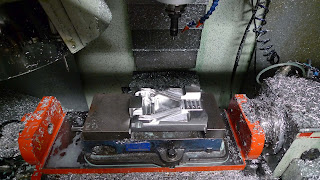
Repeat both a couple of times and you get the resulting picture:
Now I need to machine a couple of fixture plates to hold these parts and then run the second and final operation. Will post again real soon.
Chris


Yahoo!! Very nice to see.
Scott