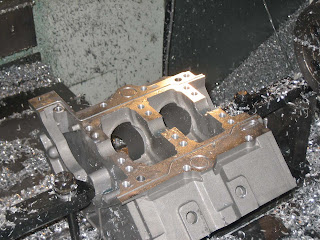
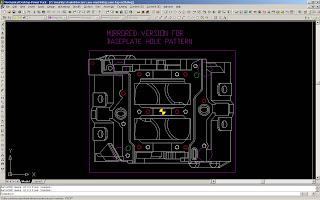
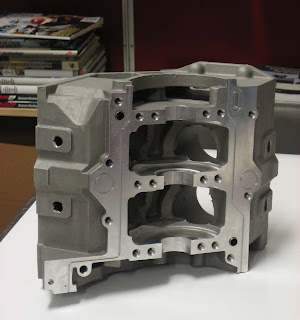
Well, I finally got some time to get into the crankcase top sample casting. This post documents the first operation on the part. The QC results were mostly positive, there were only a couple of minor issues with the initial test pour which will be revised for the next run of parts. For a casting with multiple internal cores of this complexity I am very happy that the issues that were found were minor and easily corrected.
The first machining step is to clamp the casting upside down onto the mill table and align it with the machine X and Y axes. it is important to design features into the casting that will allow easy and repeatable initial positioning. This step was pretty easy as I already had a good idea on how accurate the casting was because of the previous QC scanning procedure. The 3 main datum points that define the XY plane and create the crankcase split plane were very accurate and enabled easy and stable clamping. Then 2 additional points to locate the x-axis orientation then one more point to locate the origin. 6 location points perfectly constrain 6 degrees of freedom and now the part is ready to go. Sorry about the crappy image but I started machining before I realized that no pictures were taken of the setup and had to grab this from a video.
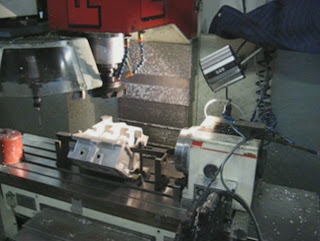
Once the part was aligned I setup all the tools in the carousel and triple checked the program, then started making chips.
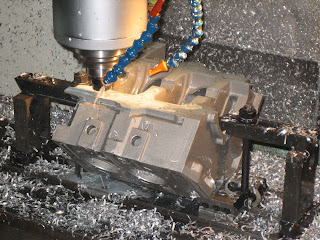 Machining o-ring oil seal grooves….
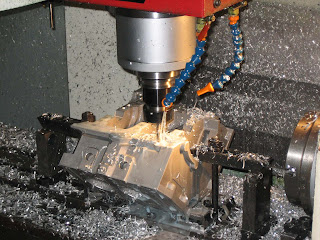 Drilling/tapping main bearing and case attachment holes…..
After op1, I needed to make a fixture plate that matches the pattern of tapped holes I just machined into the part.
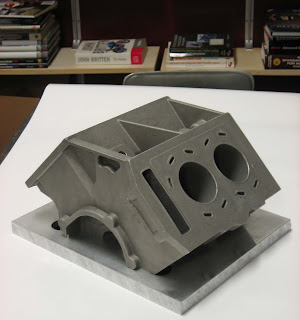 The part clamped to the fixture plate…..
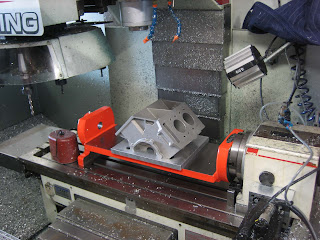 which is then clamped very accurately to the Jergens fixture pins built into the trunnion table…..
From here I will need to run 2 more programs, one for the each cylinder bank- decking it, oil and head bolt holes, etc, and the second for the side cover mounting faces and attachment holes.
I’ll get to this soon and put up a post as soon as I do.
That’s all for now.
Chris

