I received the crankcase casting top sample piece on Friday and got right down to seeing if it was within specification to the CAD model we used as a master. Overall the part looked very clean with all features well formed and no visible pitting or porosity, so it was a great pouring job by the guys at Harmony.I proceeded to setup a scanning station that would give good access and a stable platform to scan the part.
My approcach was to use the scanning arm to locate major planes of interest: cylinder deck, bearing split surface, and large external surfaces, then some cylinder primatives of bearing and cylinder bores, then create 3d profiles of more complex surface intersections.
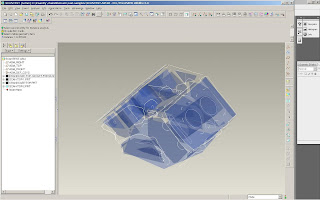
The result of this was a relatively confusing collection of surfaces, points, and lines randomly oriented on 3D space.

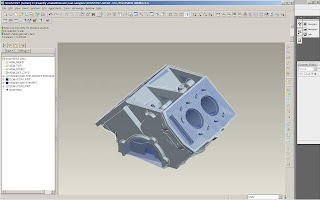
The next step is to make sense of all this data by aligning it to the CAD model it is supposed to accurately represent. First we align it to the CAD model that has extra machining stock on the appropriate areas:

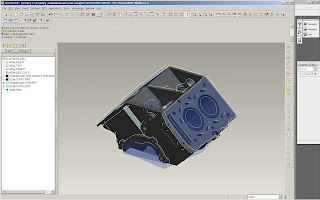
After a careful alignment process the scanned data seemed to closely match the CAD model on all external areas. To ensure that my addition of machining stock was correct I then replaced the as-cast CAD model with a finish machined CAD model:

What I look for in this step is a gap (at least .030″) between the scanned surface and the final machined surface, which indicates there is enough material to cleanly machine the surface.
So far the casting is well within specification, an excellent job by the casters considering the multiple stackup of cores and tolerances. I need to do a couple of more scans to capture the bottom/inside of the part and do a similar analysis. Then the part goes on to the mill, gets finish machined, then the deck gets milled out to examine the interior water passage core placement which has a large influence on will the cylinder wall thickness consistency.
Hopefully I’ll be machining this week and have some more images and video of the process.
Chris

