

After fixing a hydraulic system leak on the CNC lathe, it was back to making steel chips. The last post ended up with some chunks of steel with a convention 2.375″ stub on one end. That also happens to be the largest size collet for the lathe, almost like I planned it or something. The stock fit nicely in the spindle.
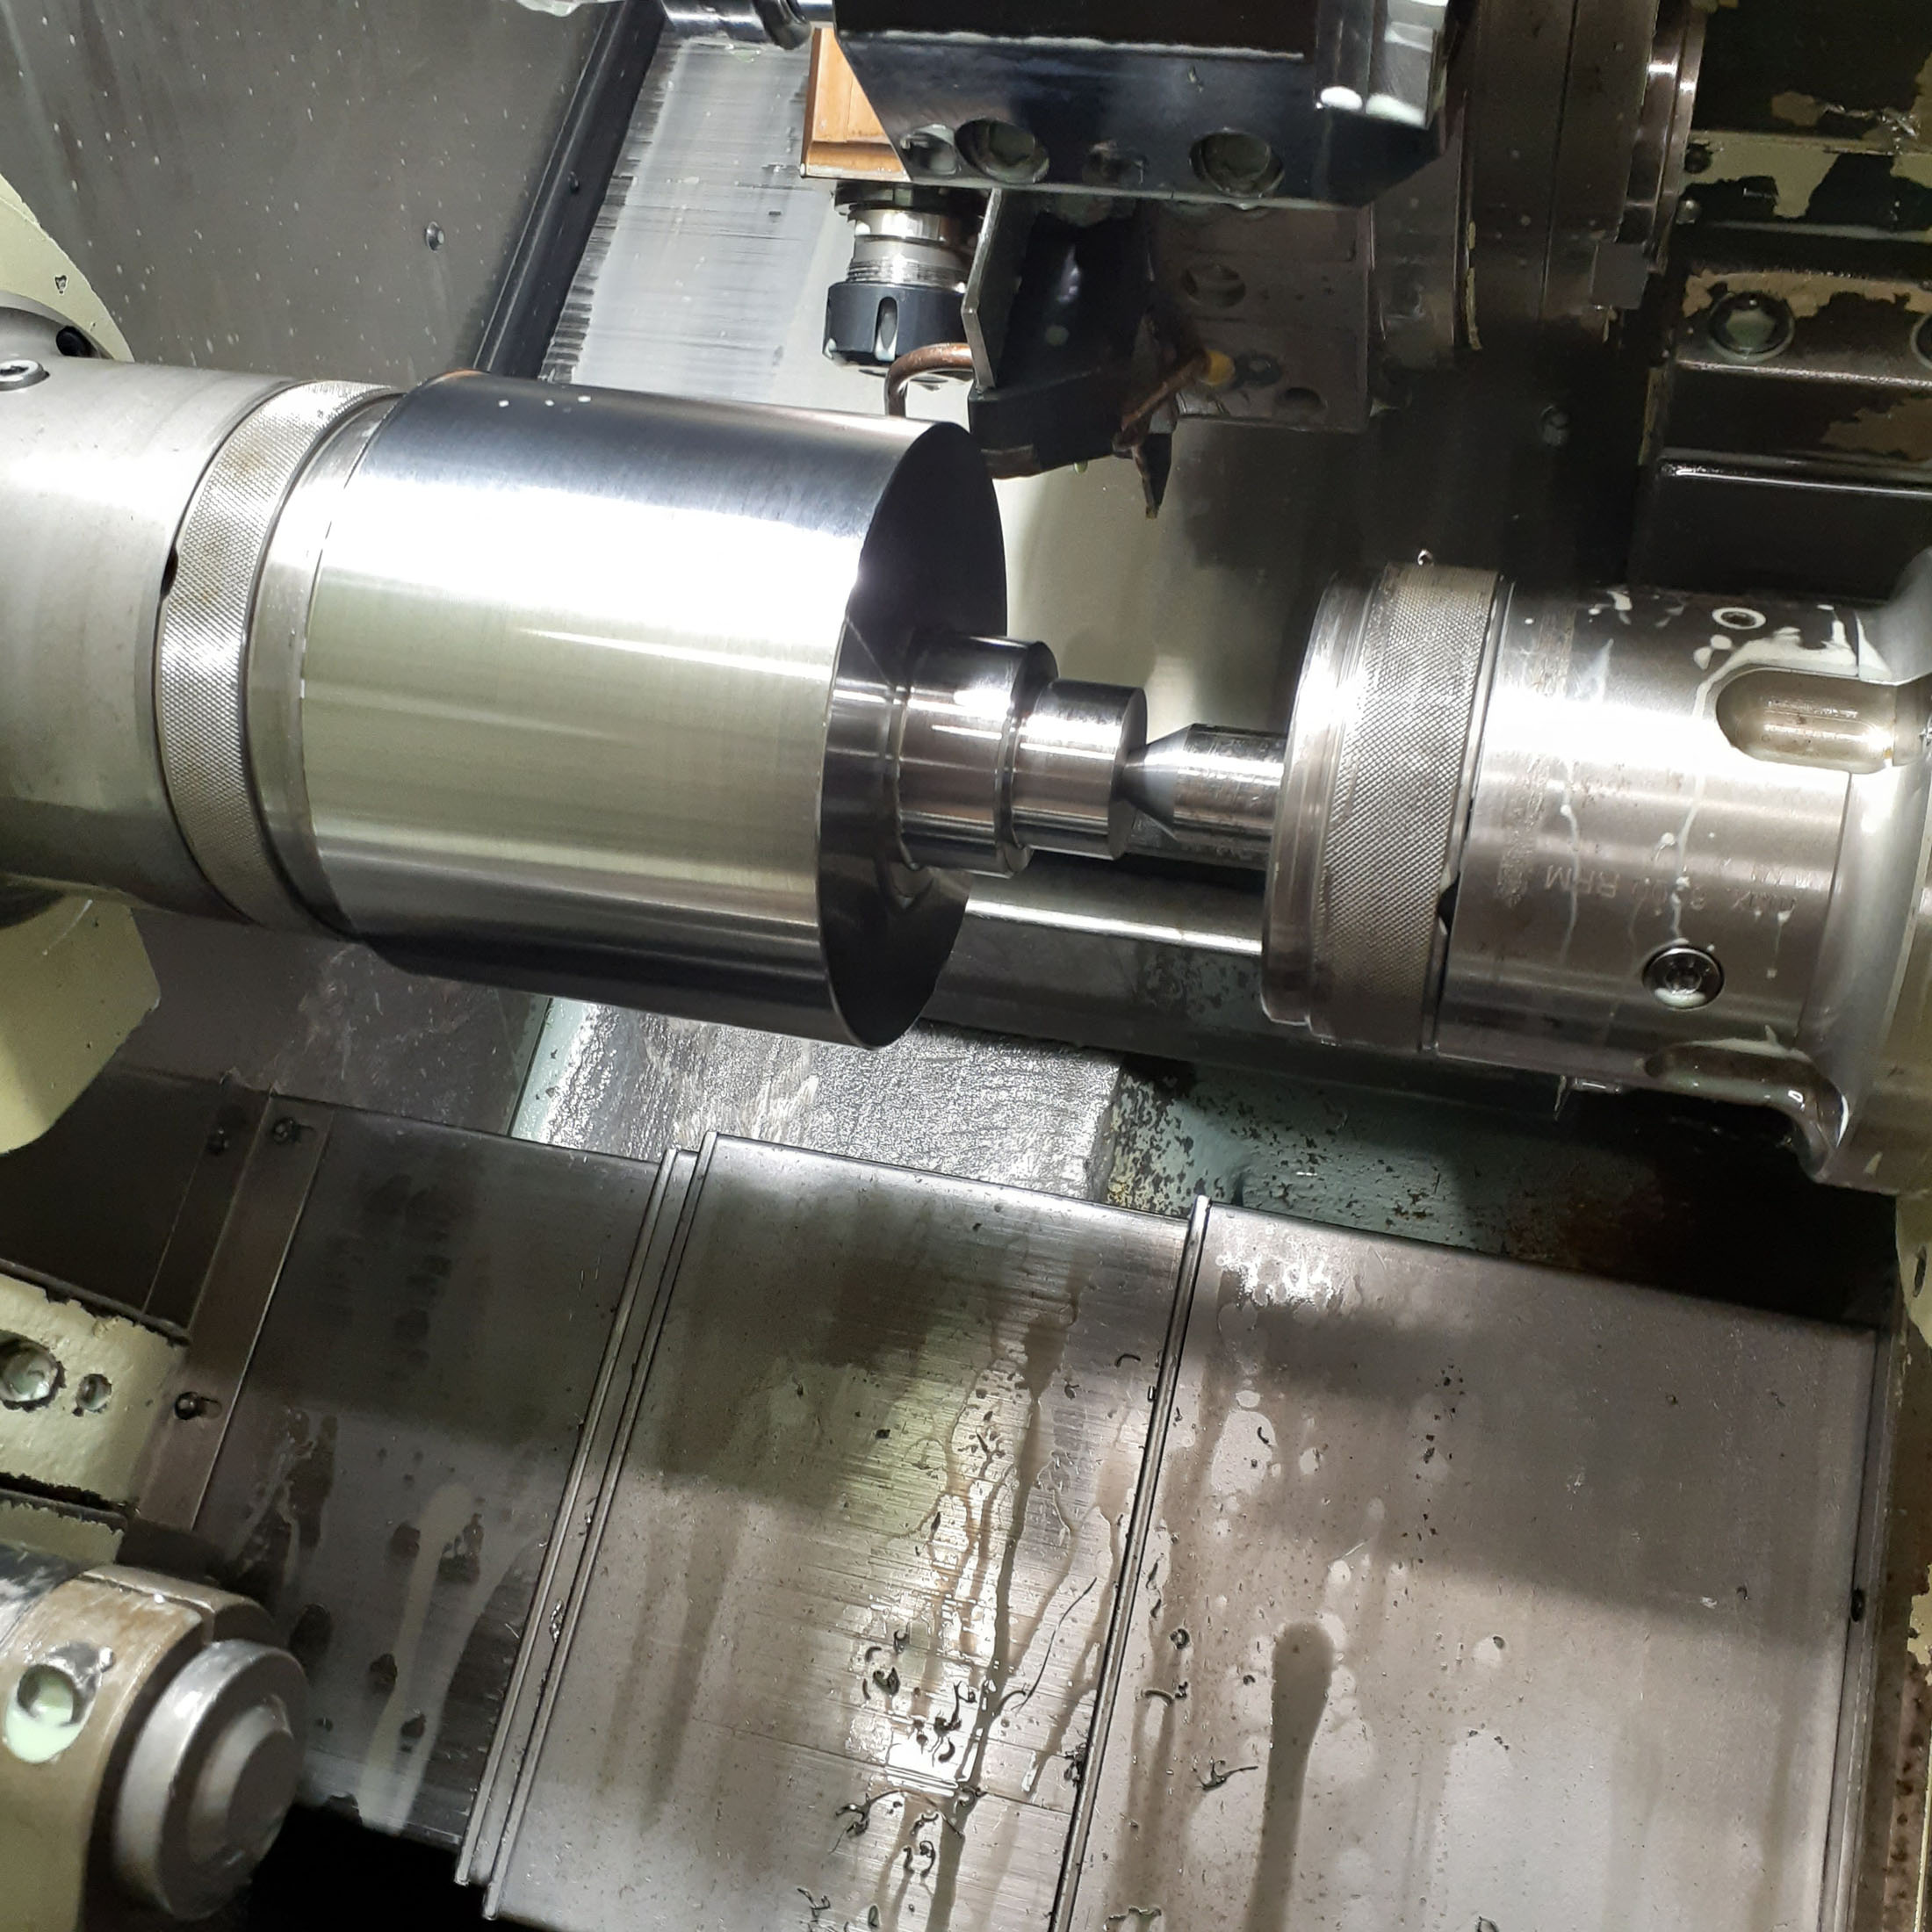
 And with a little outboard support, was left with a great surface finish.
 I repeated this a few times, then flipped the parts around and machined the starter/cam drive end.
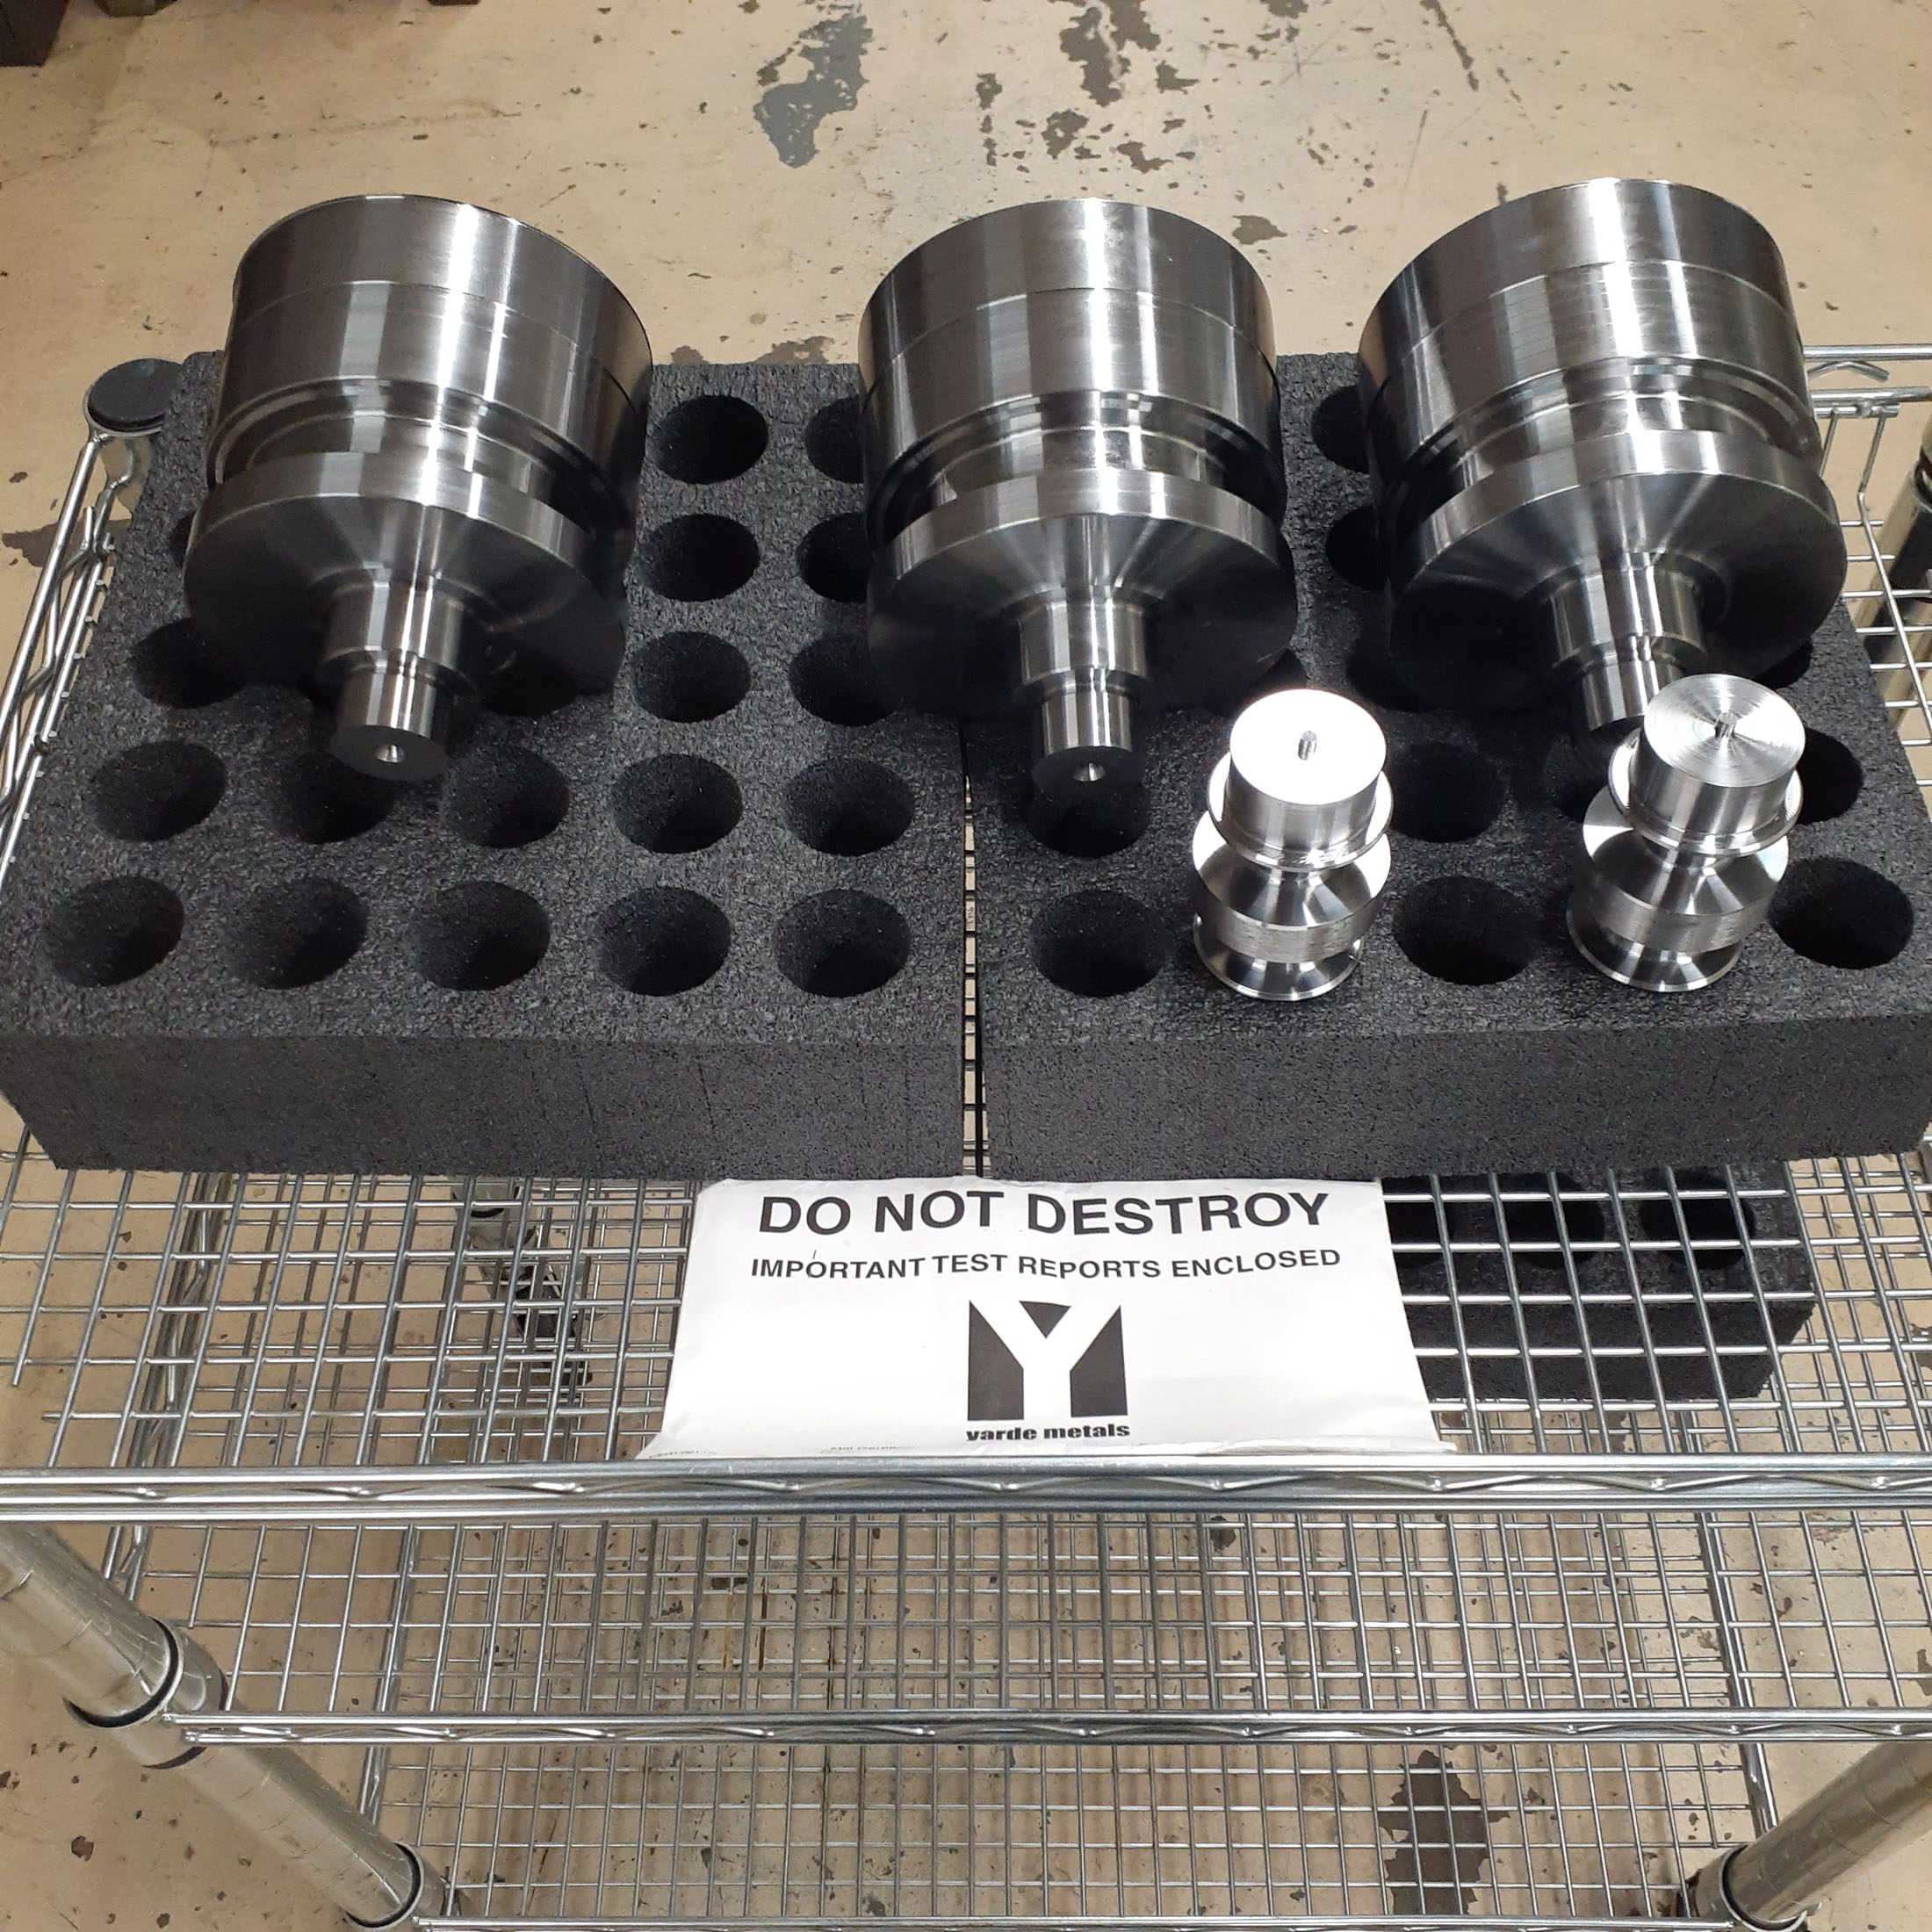
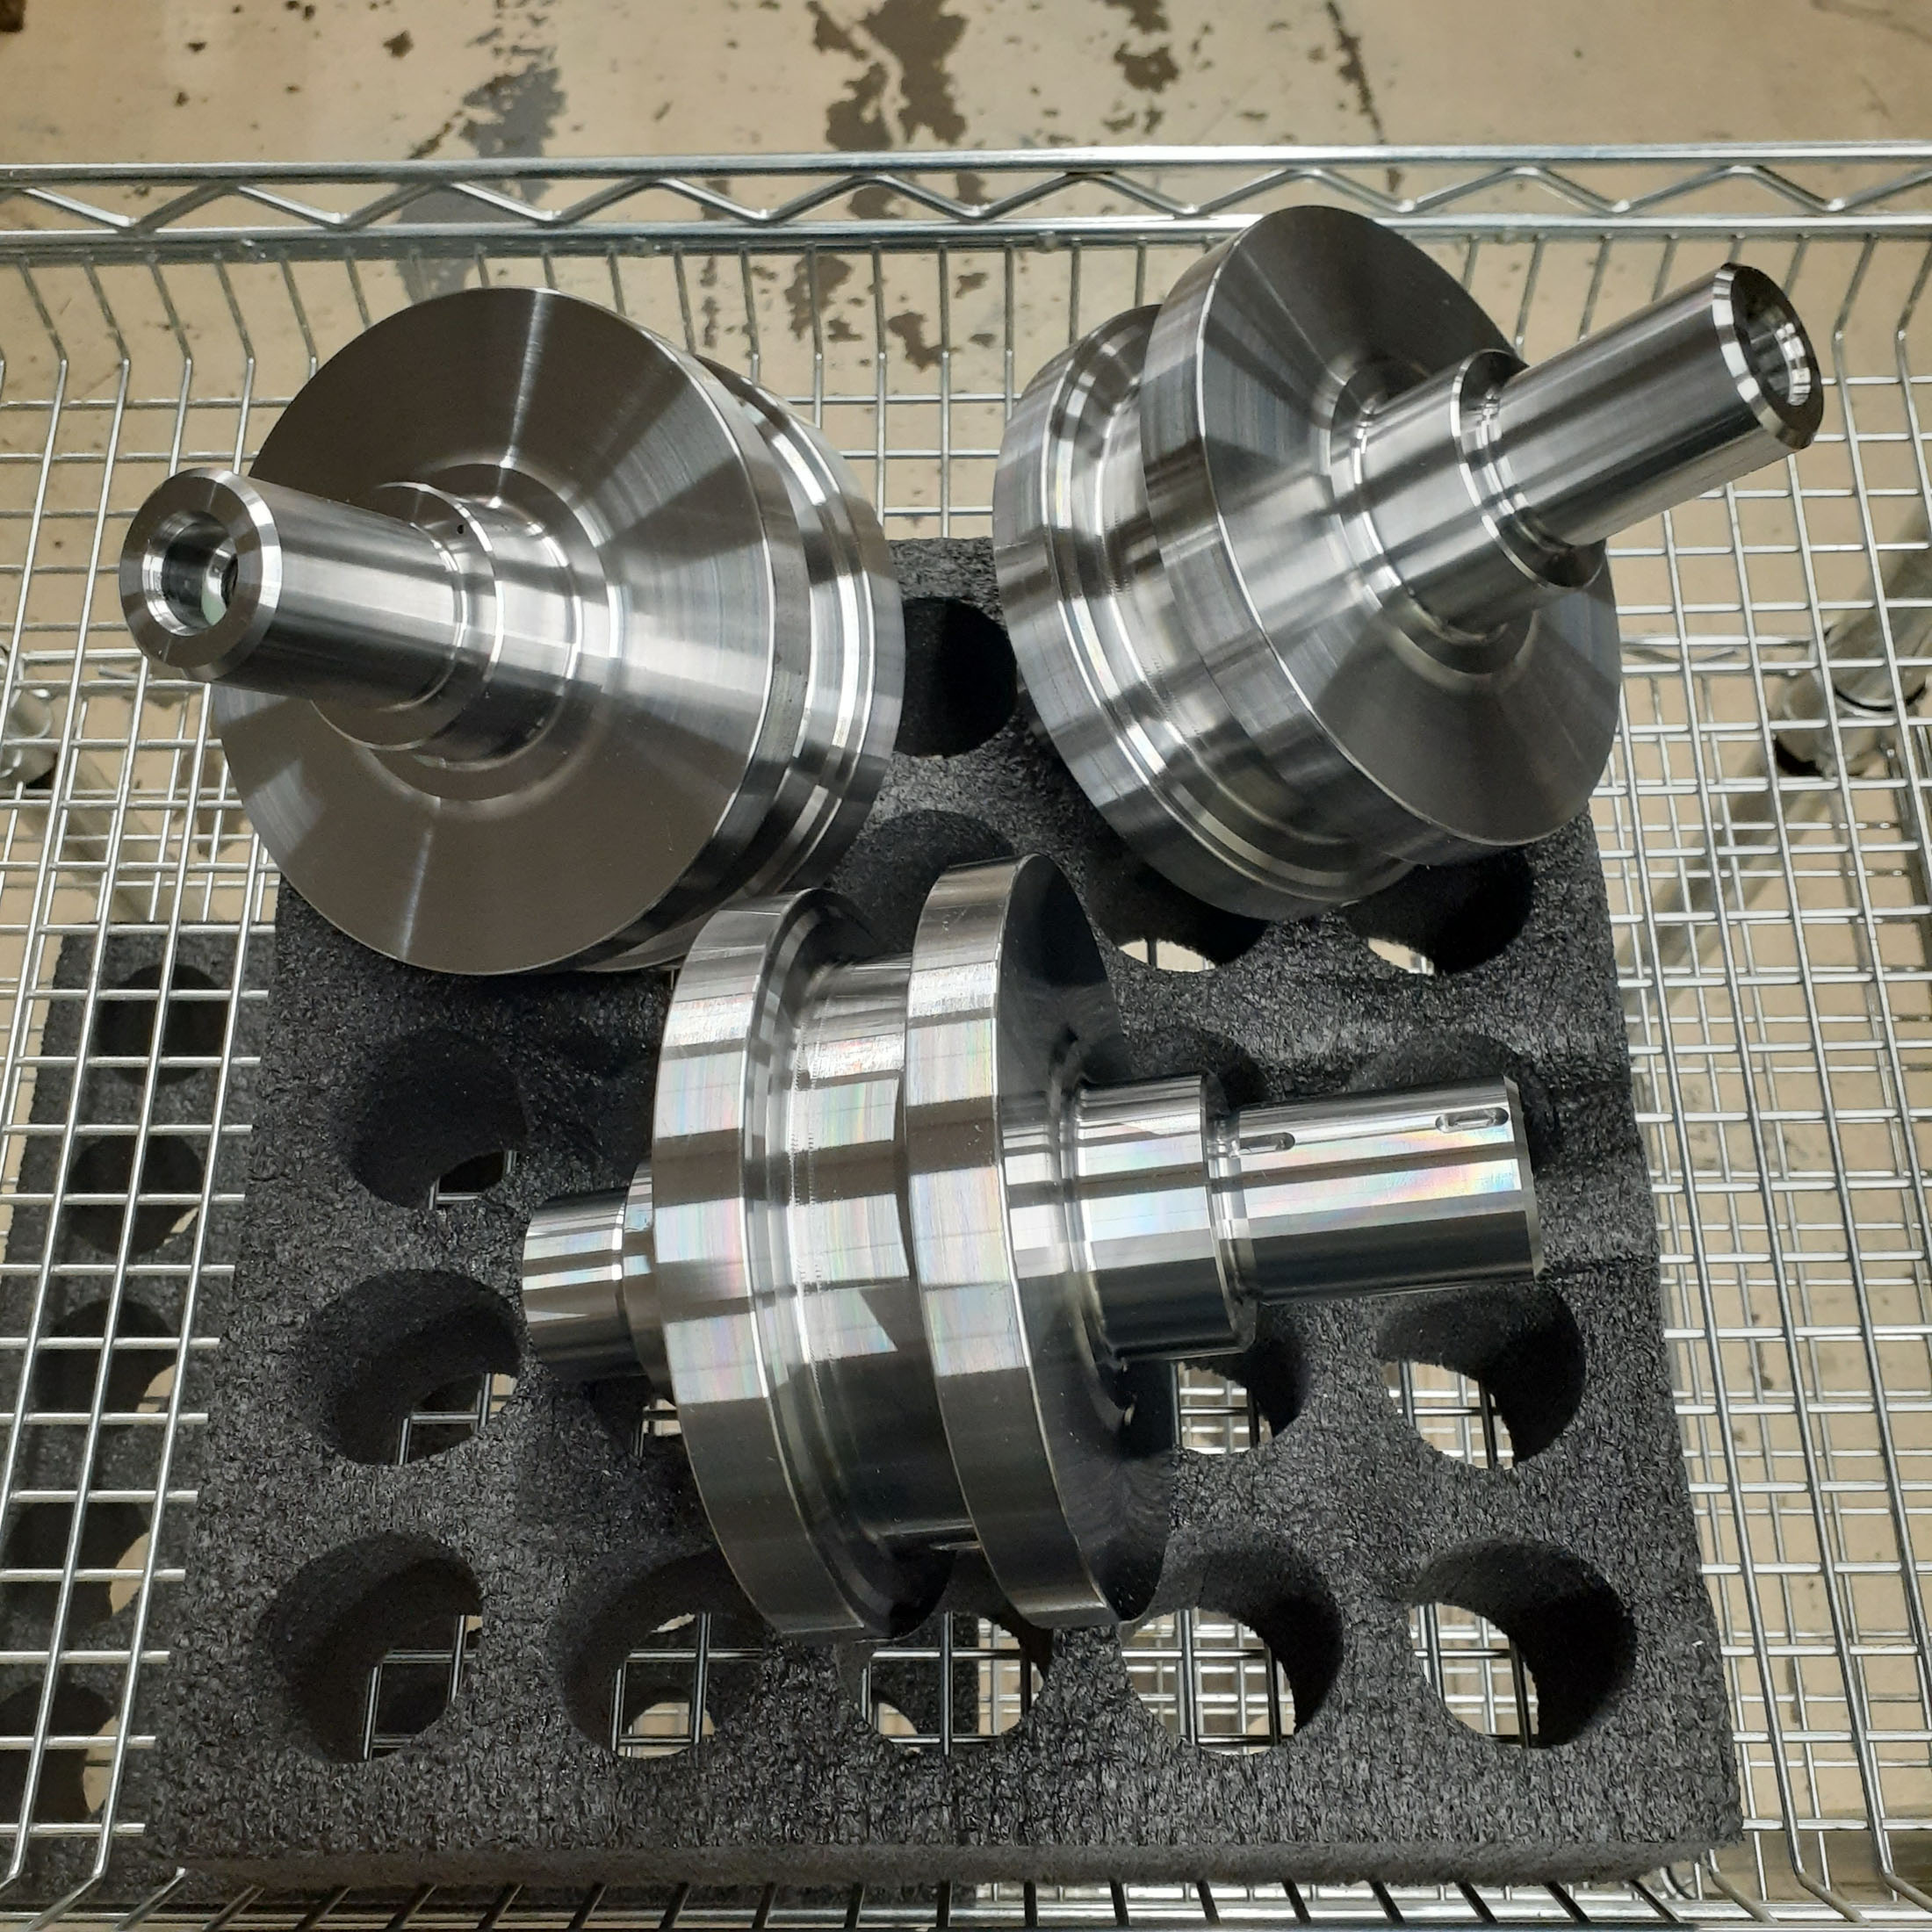
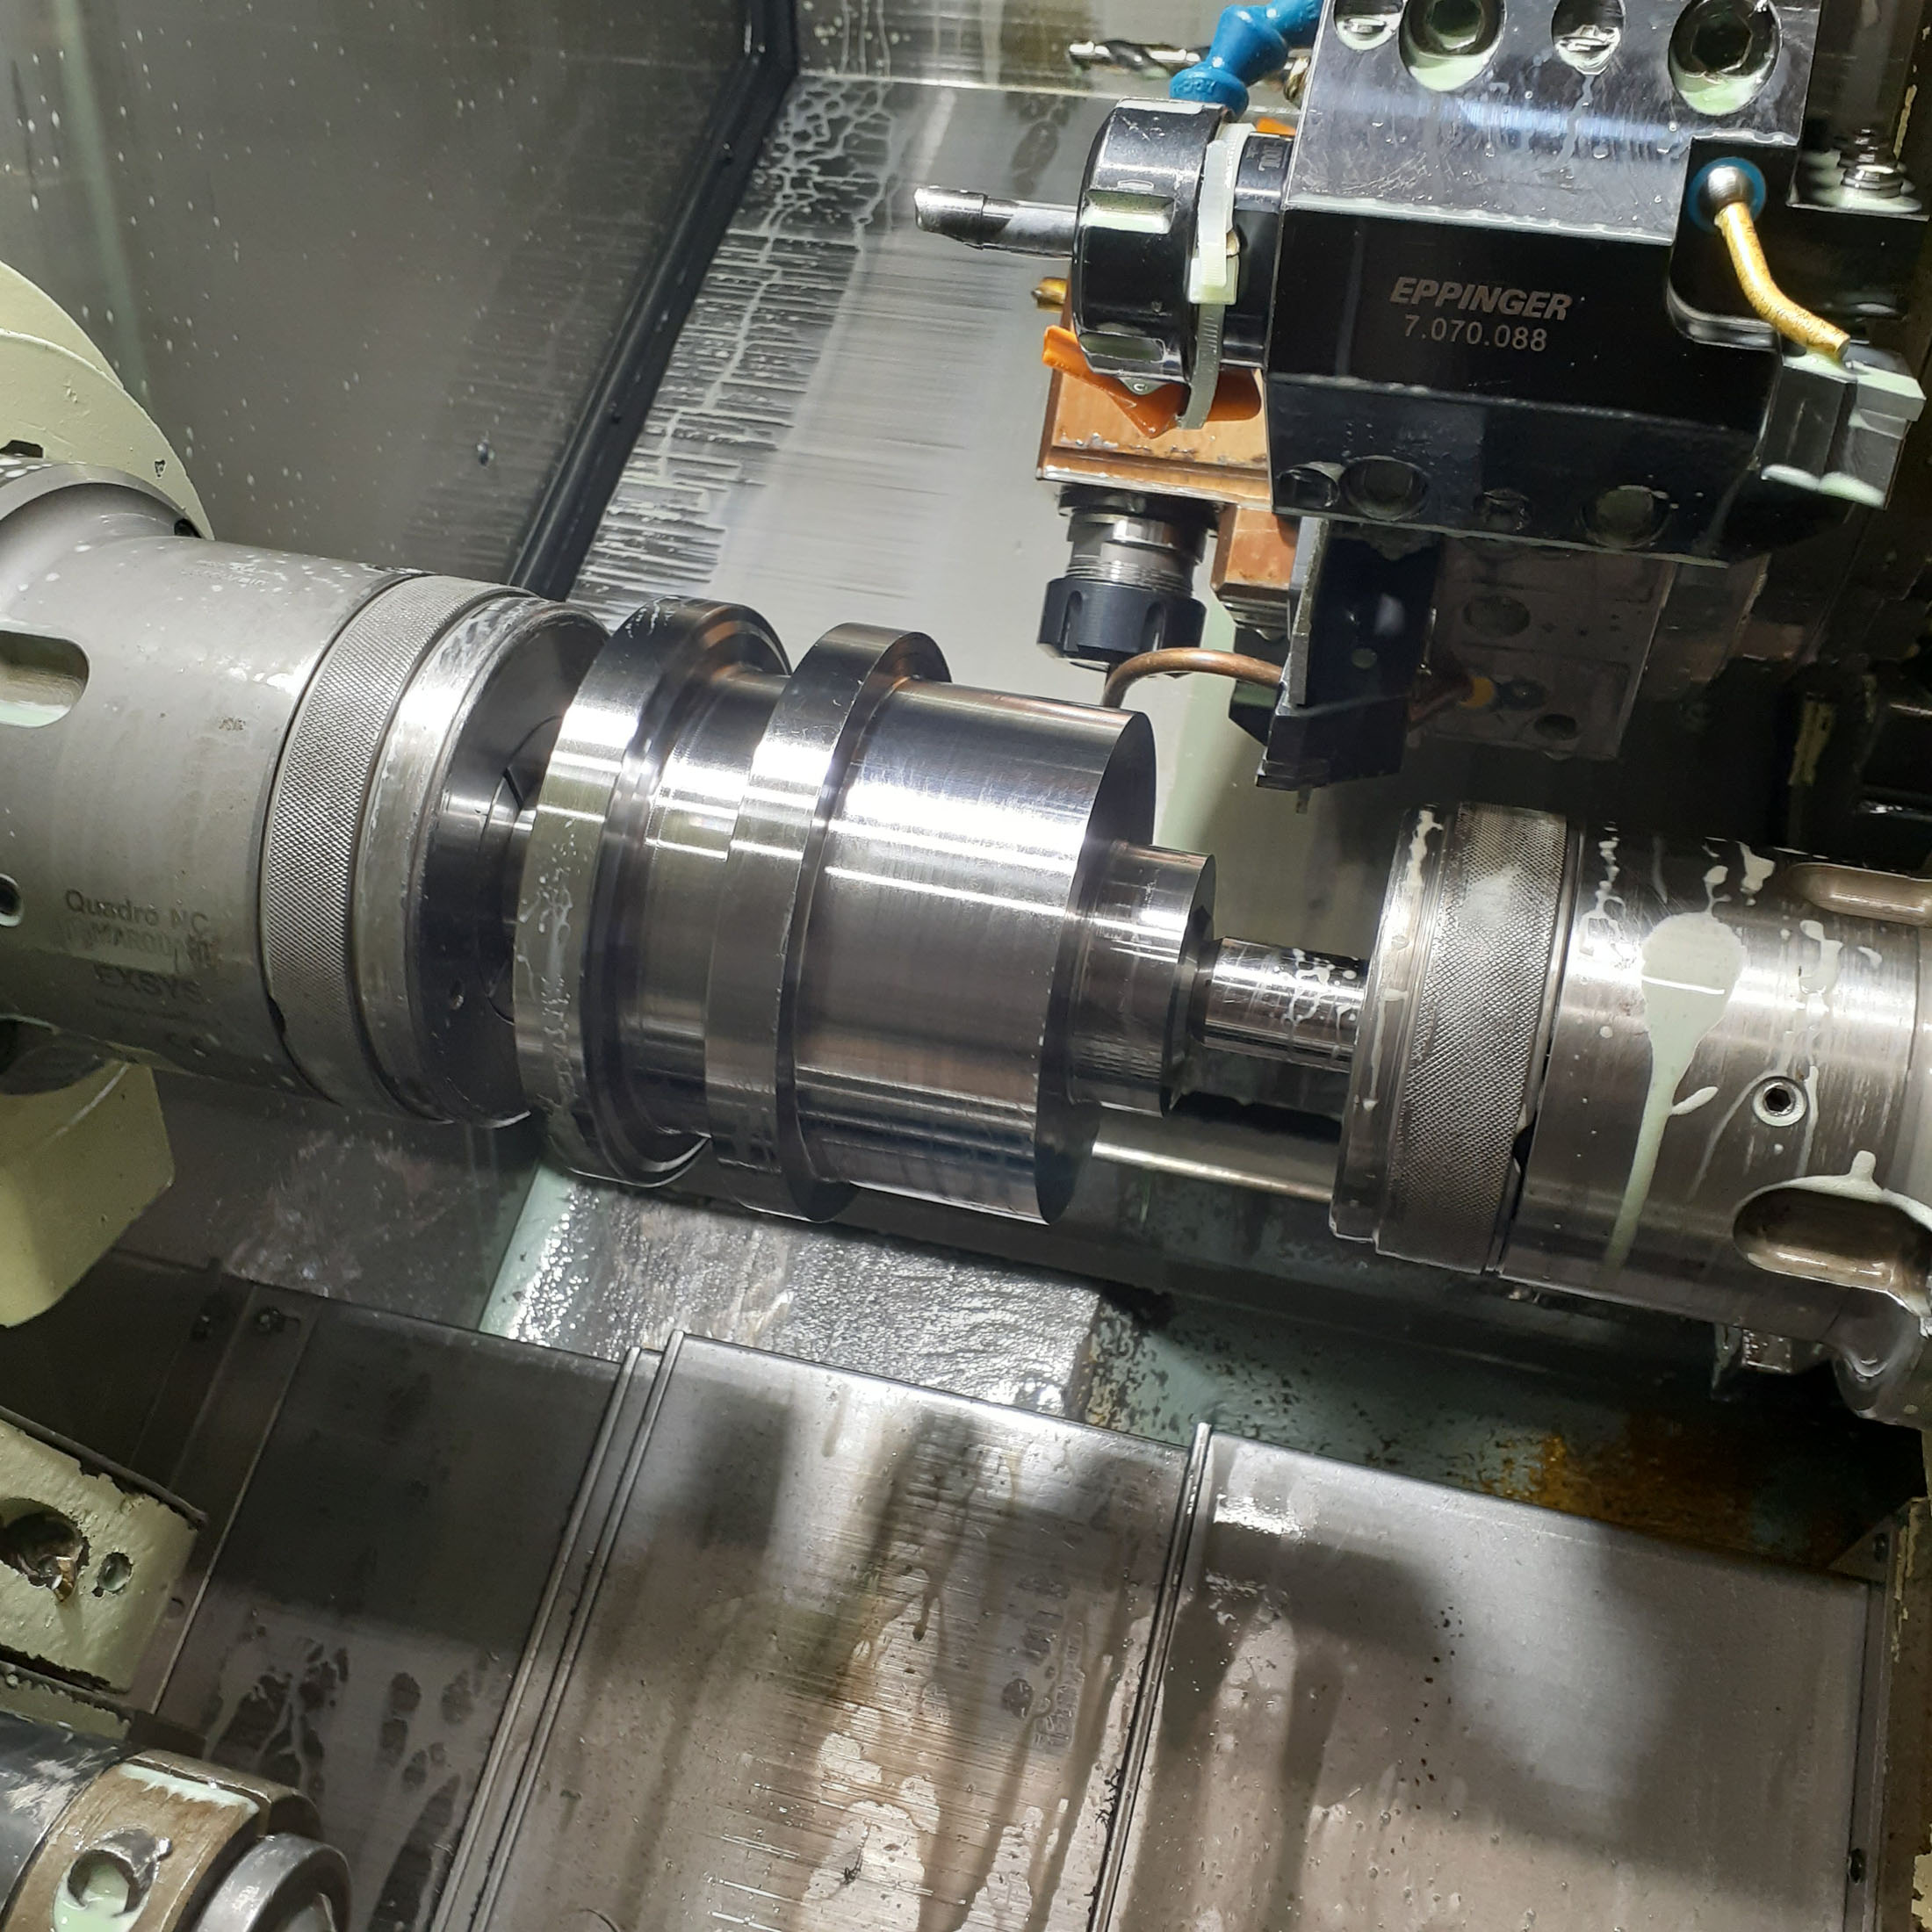 These parts at least look like they could be a crankshaft for a high performance engine! They still need a decent amount of material removed, but I need to move to the mill for this.
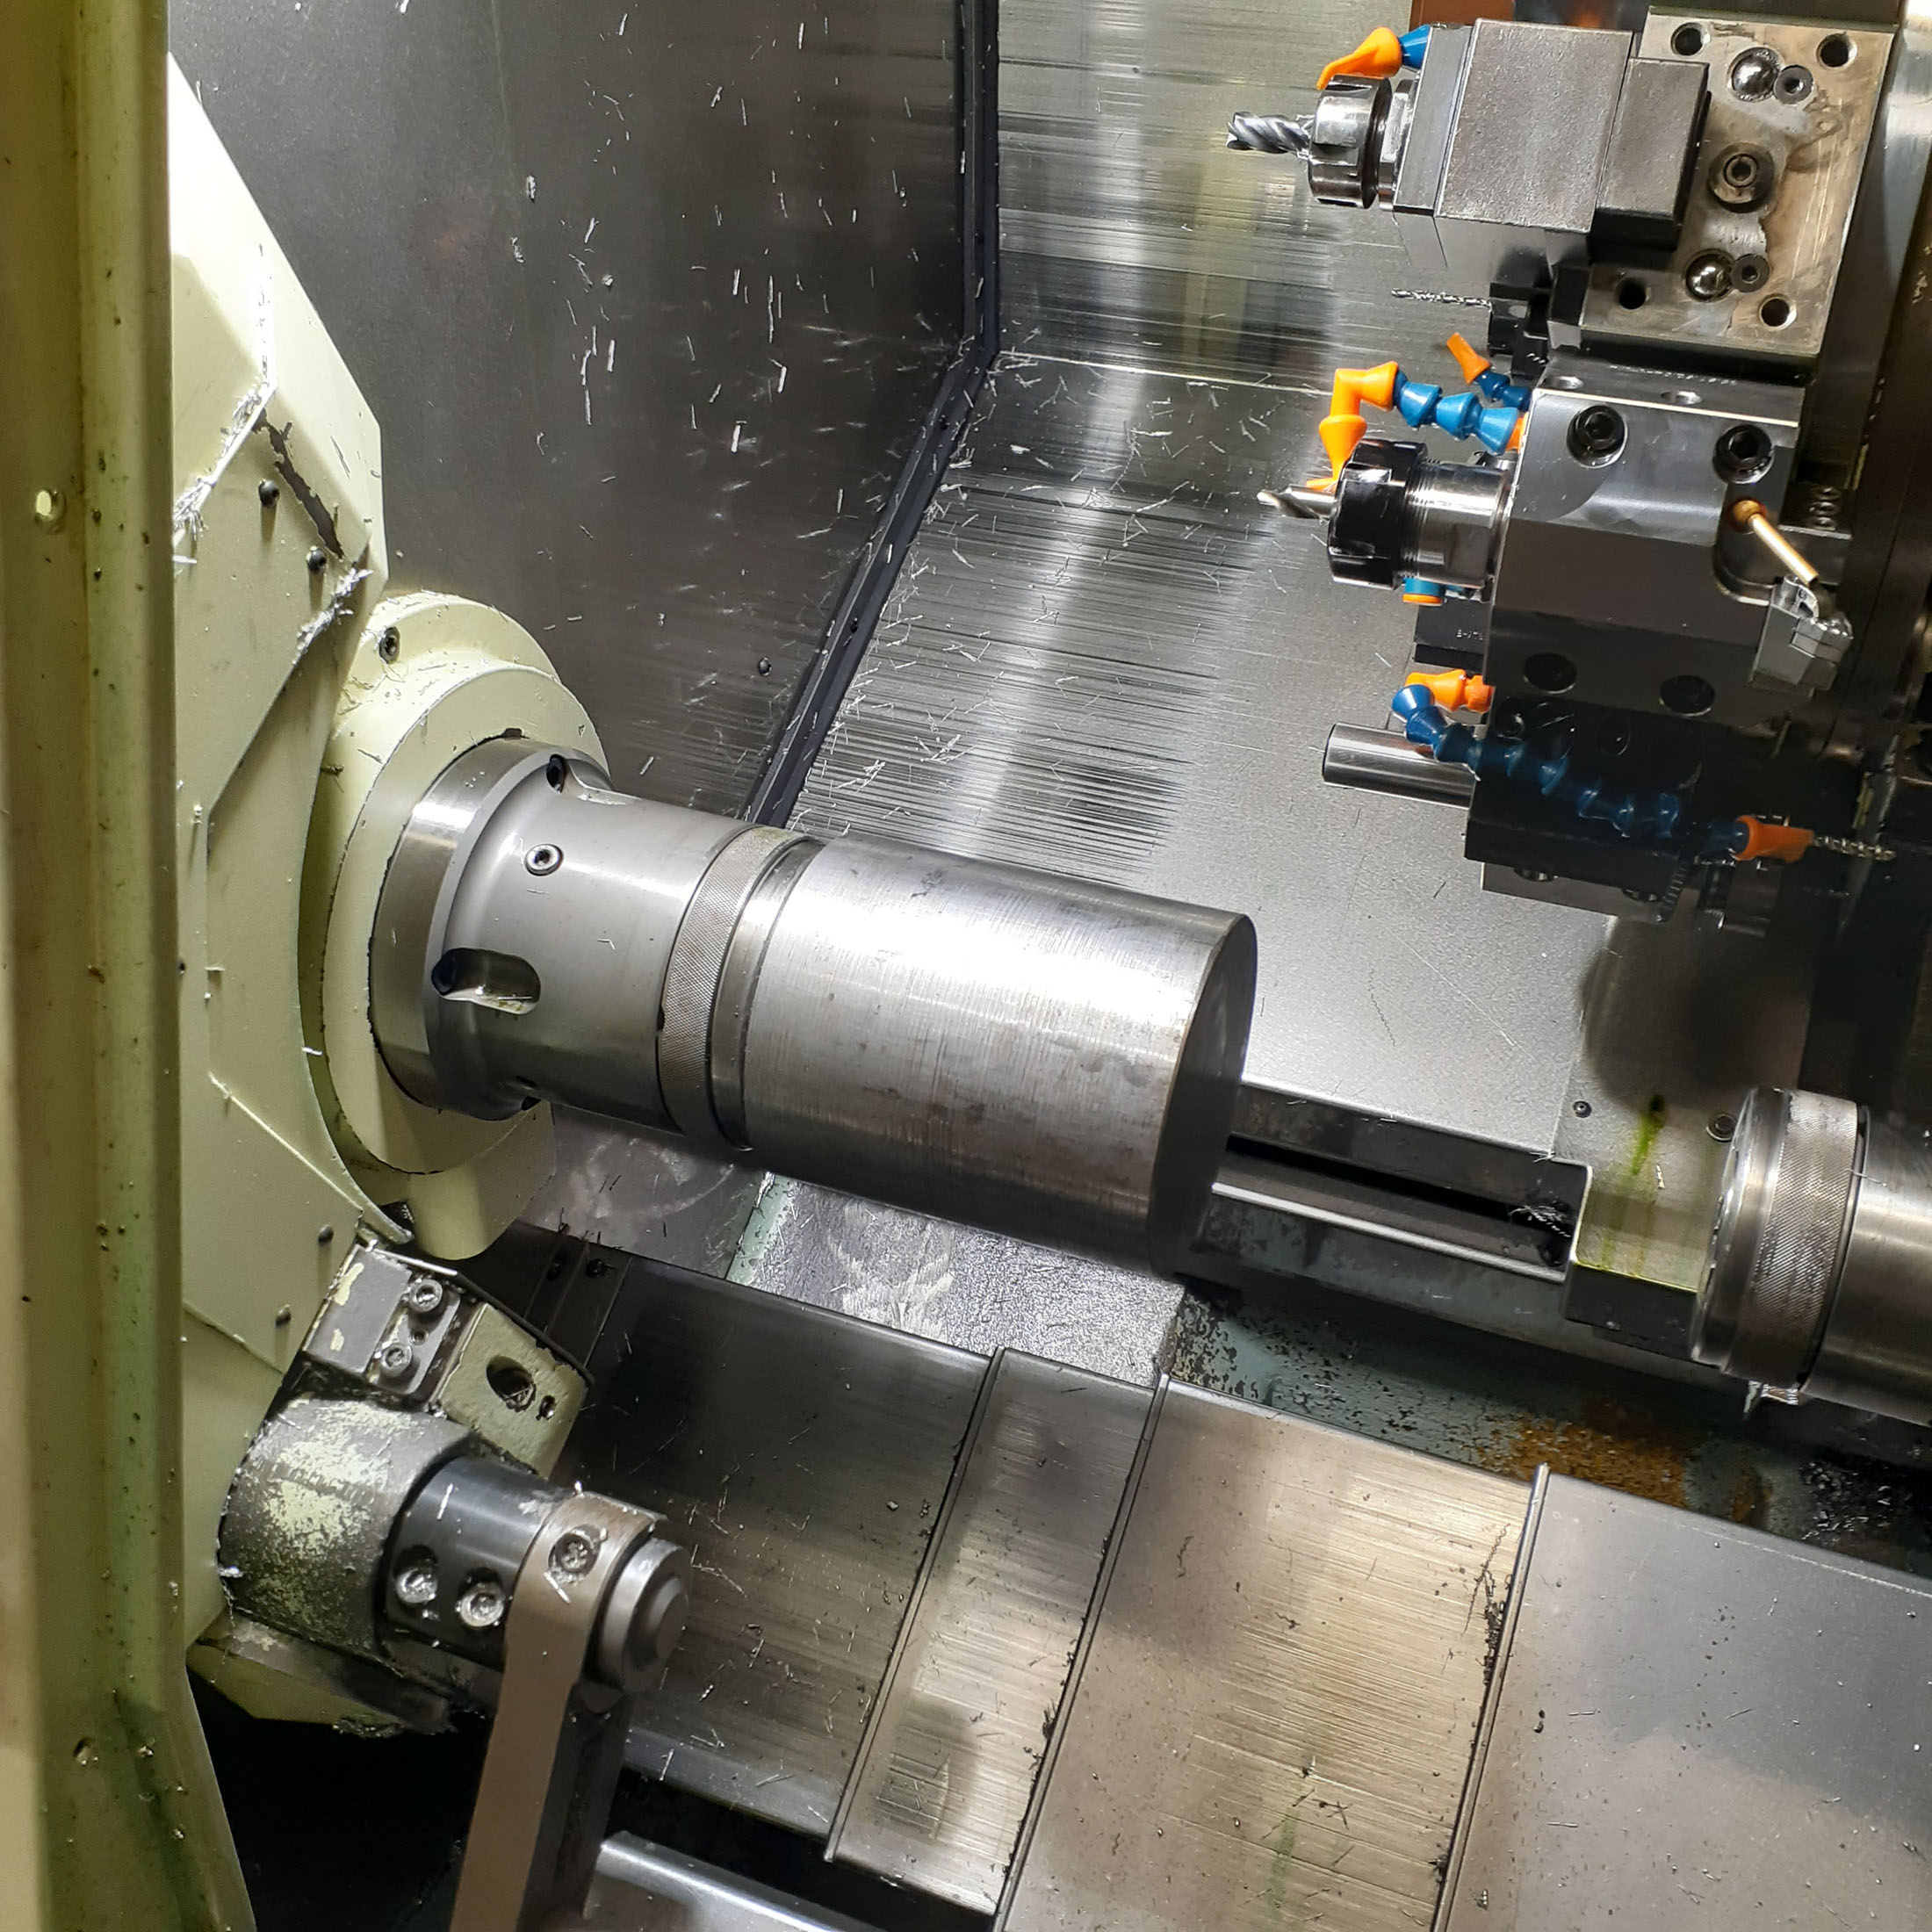
 I did squeeze a few milled features in using my CNC lathe’s live tooling/C axis capabilities.
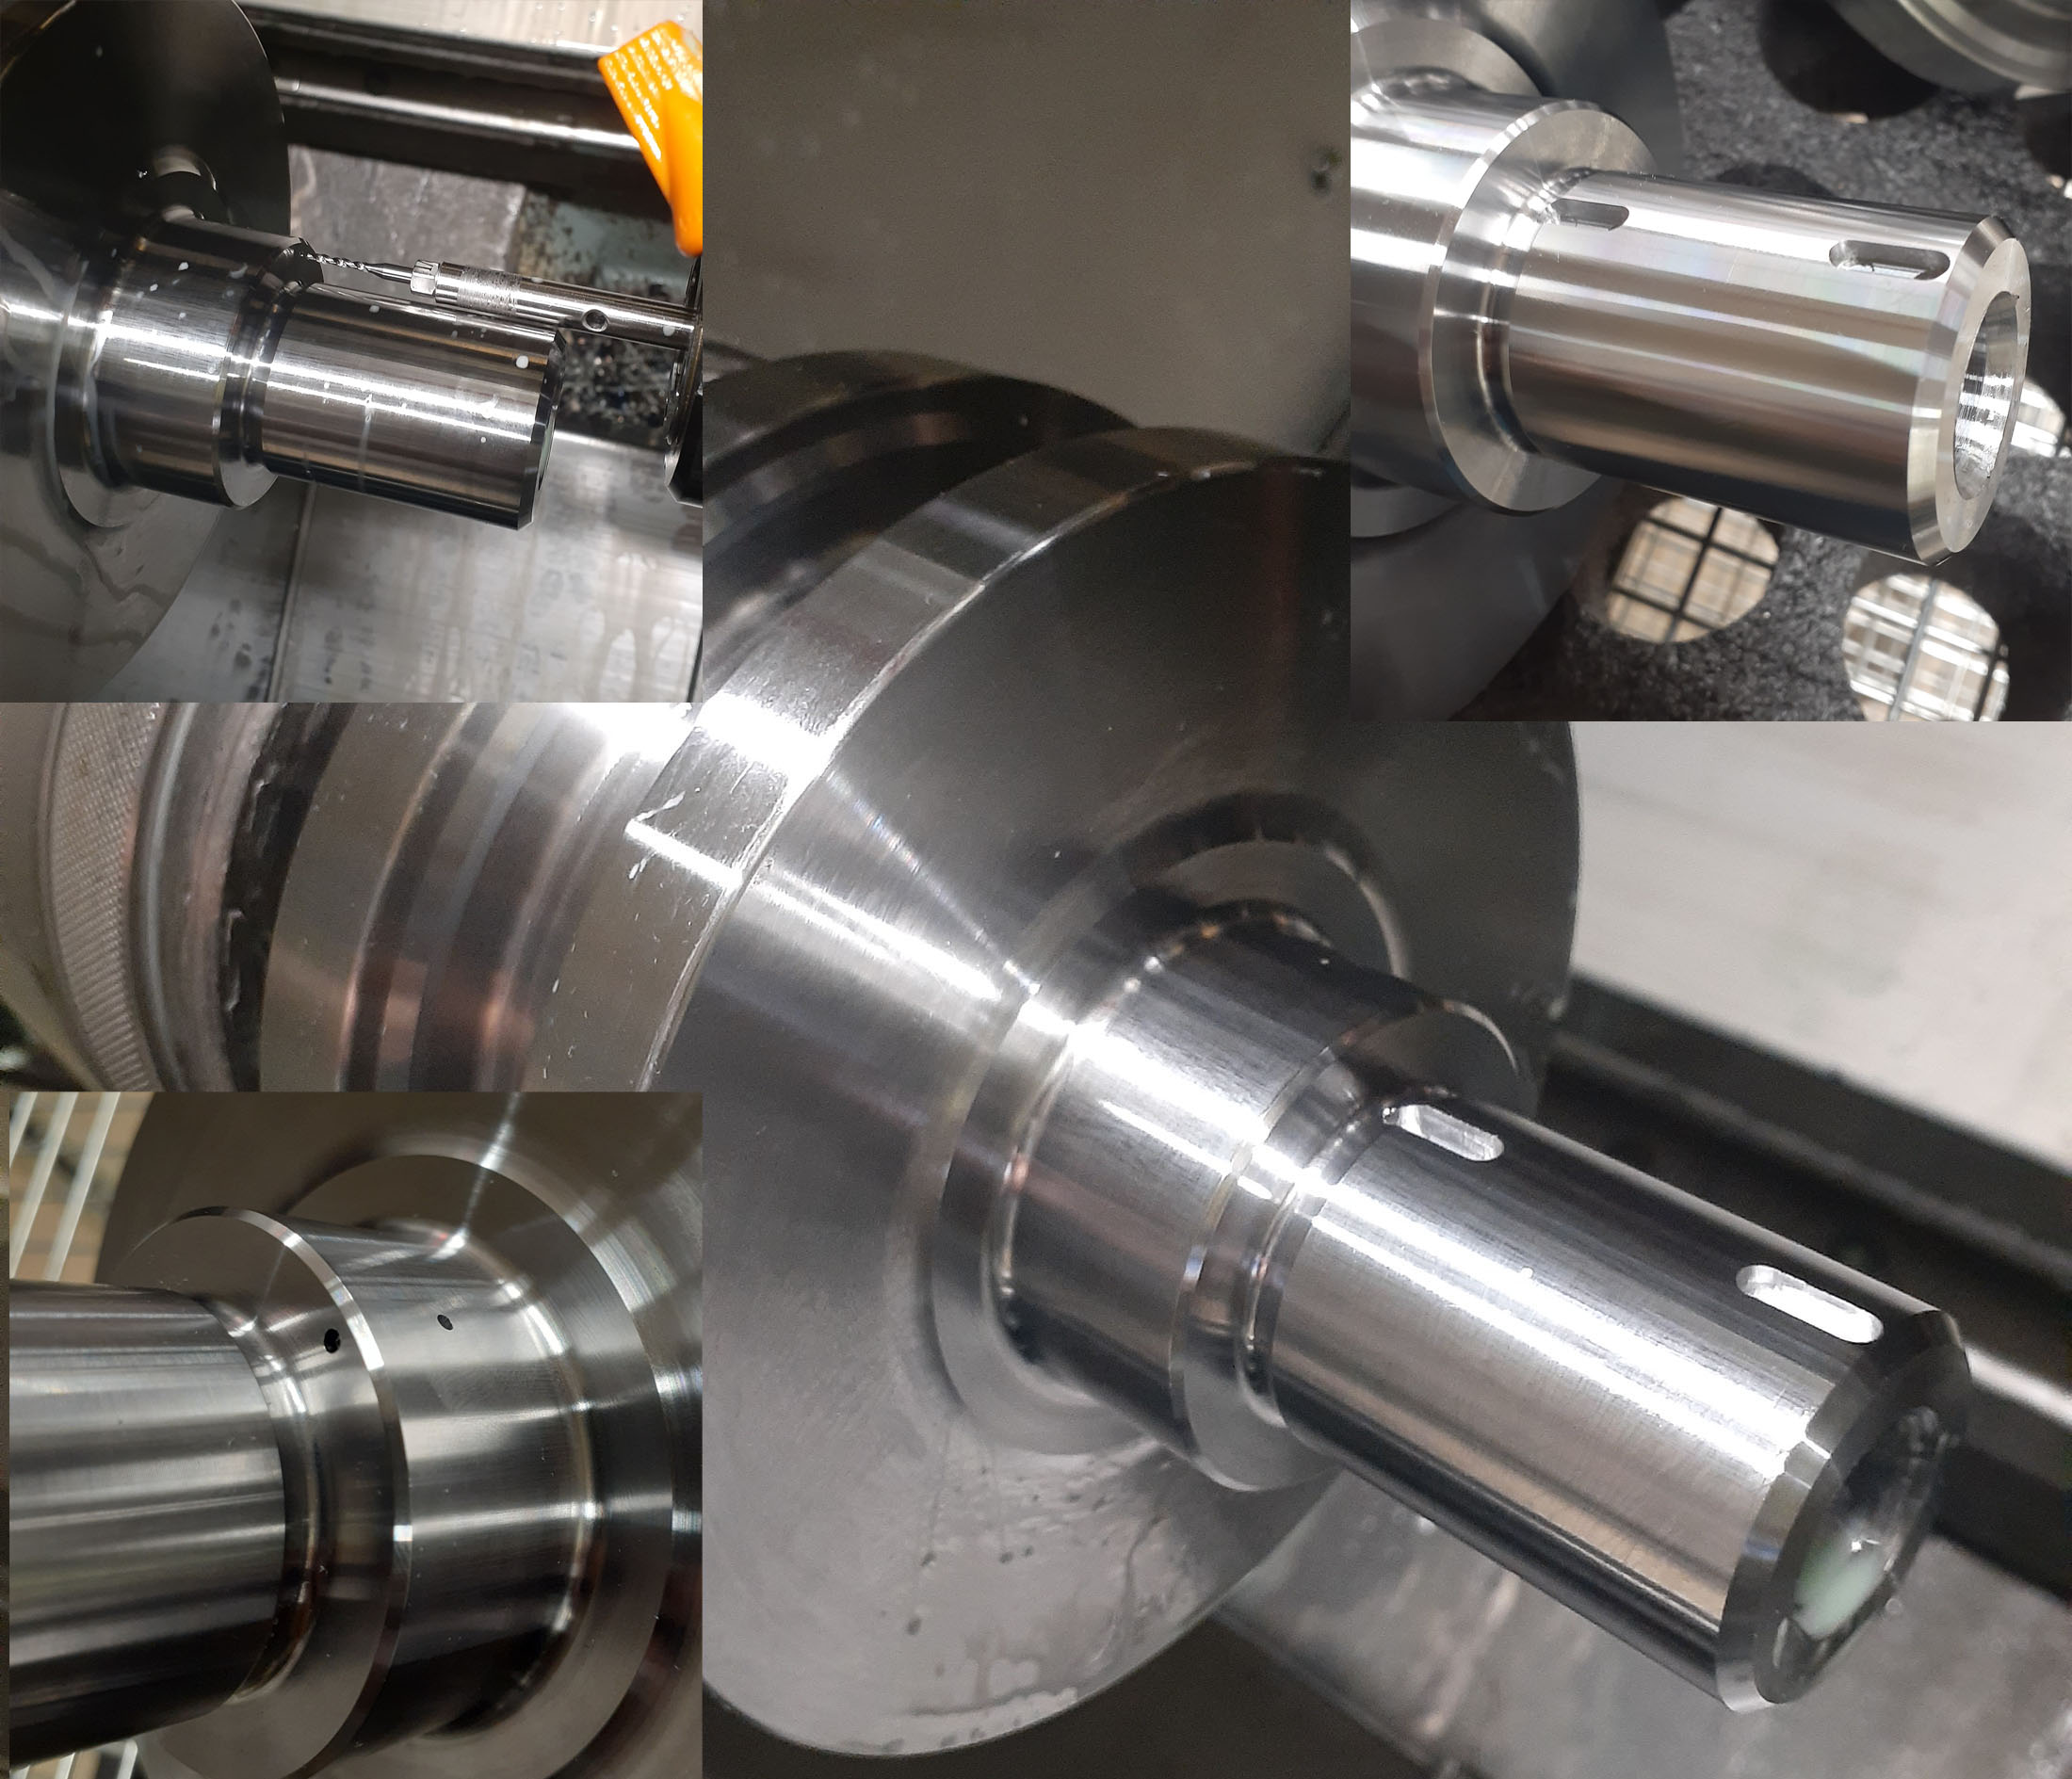 The two keyways are for the timing wheel and the cam chain drive sprocket. The small holes are an oil feed from the main bearing journal to the starter clutch bearing. The starter clutch bearing does not need much supply and this is the easiest way to ensure it.
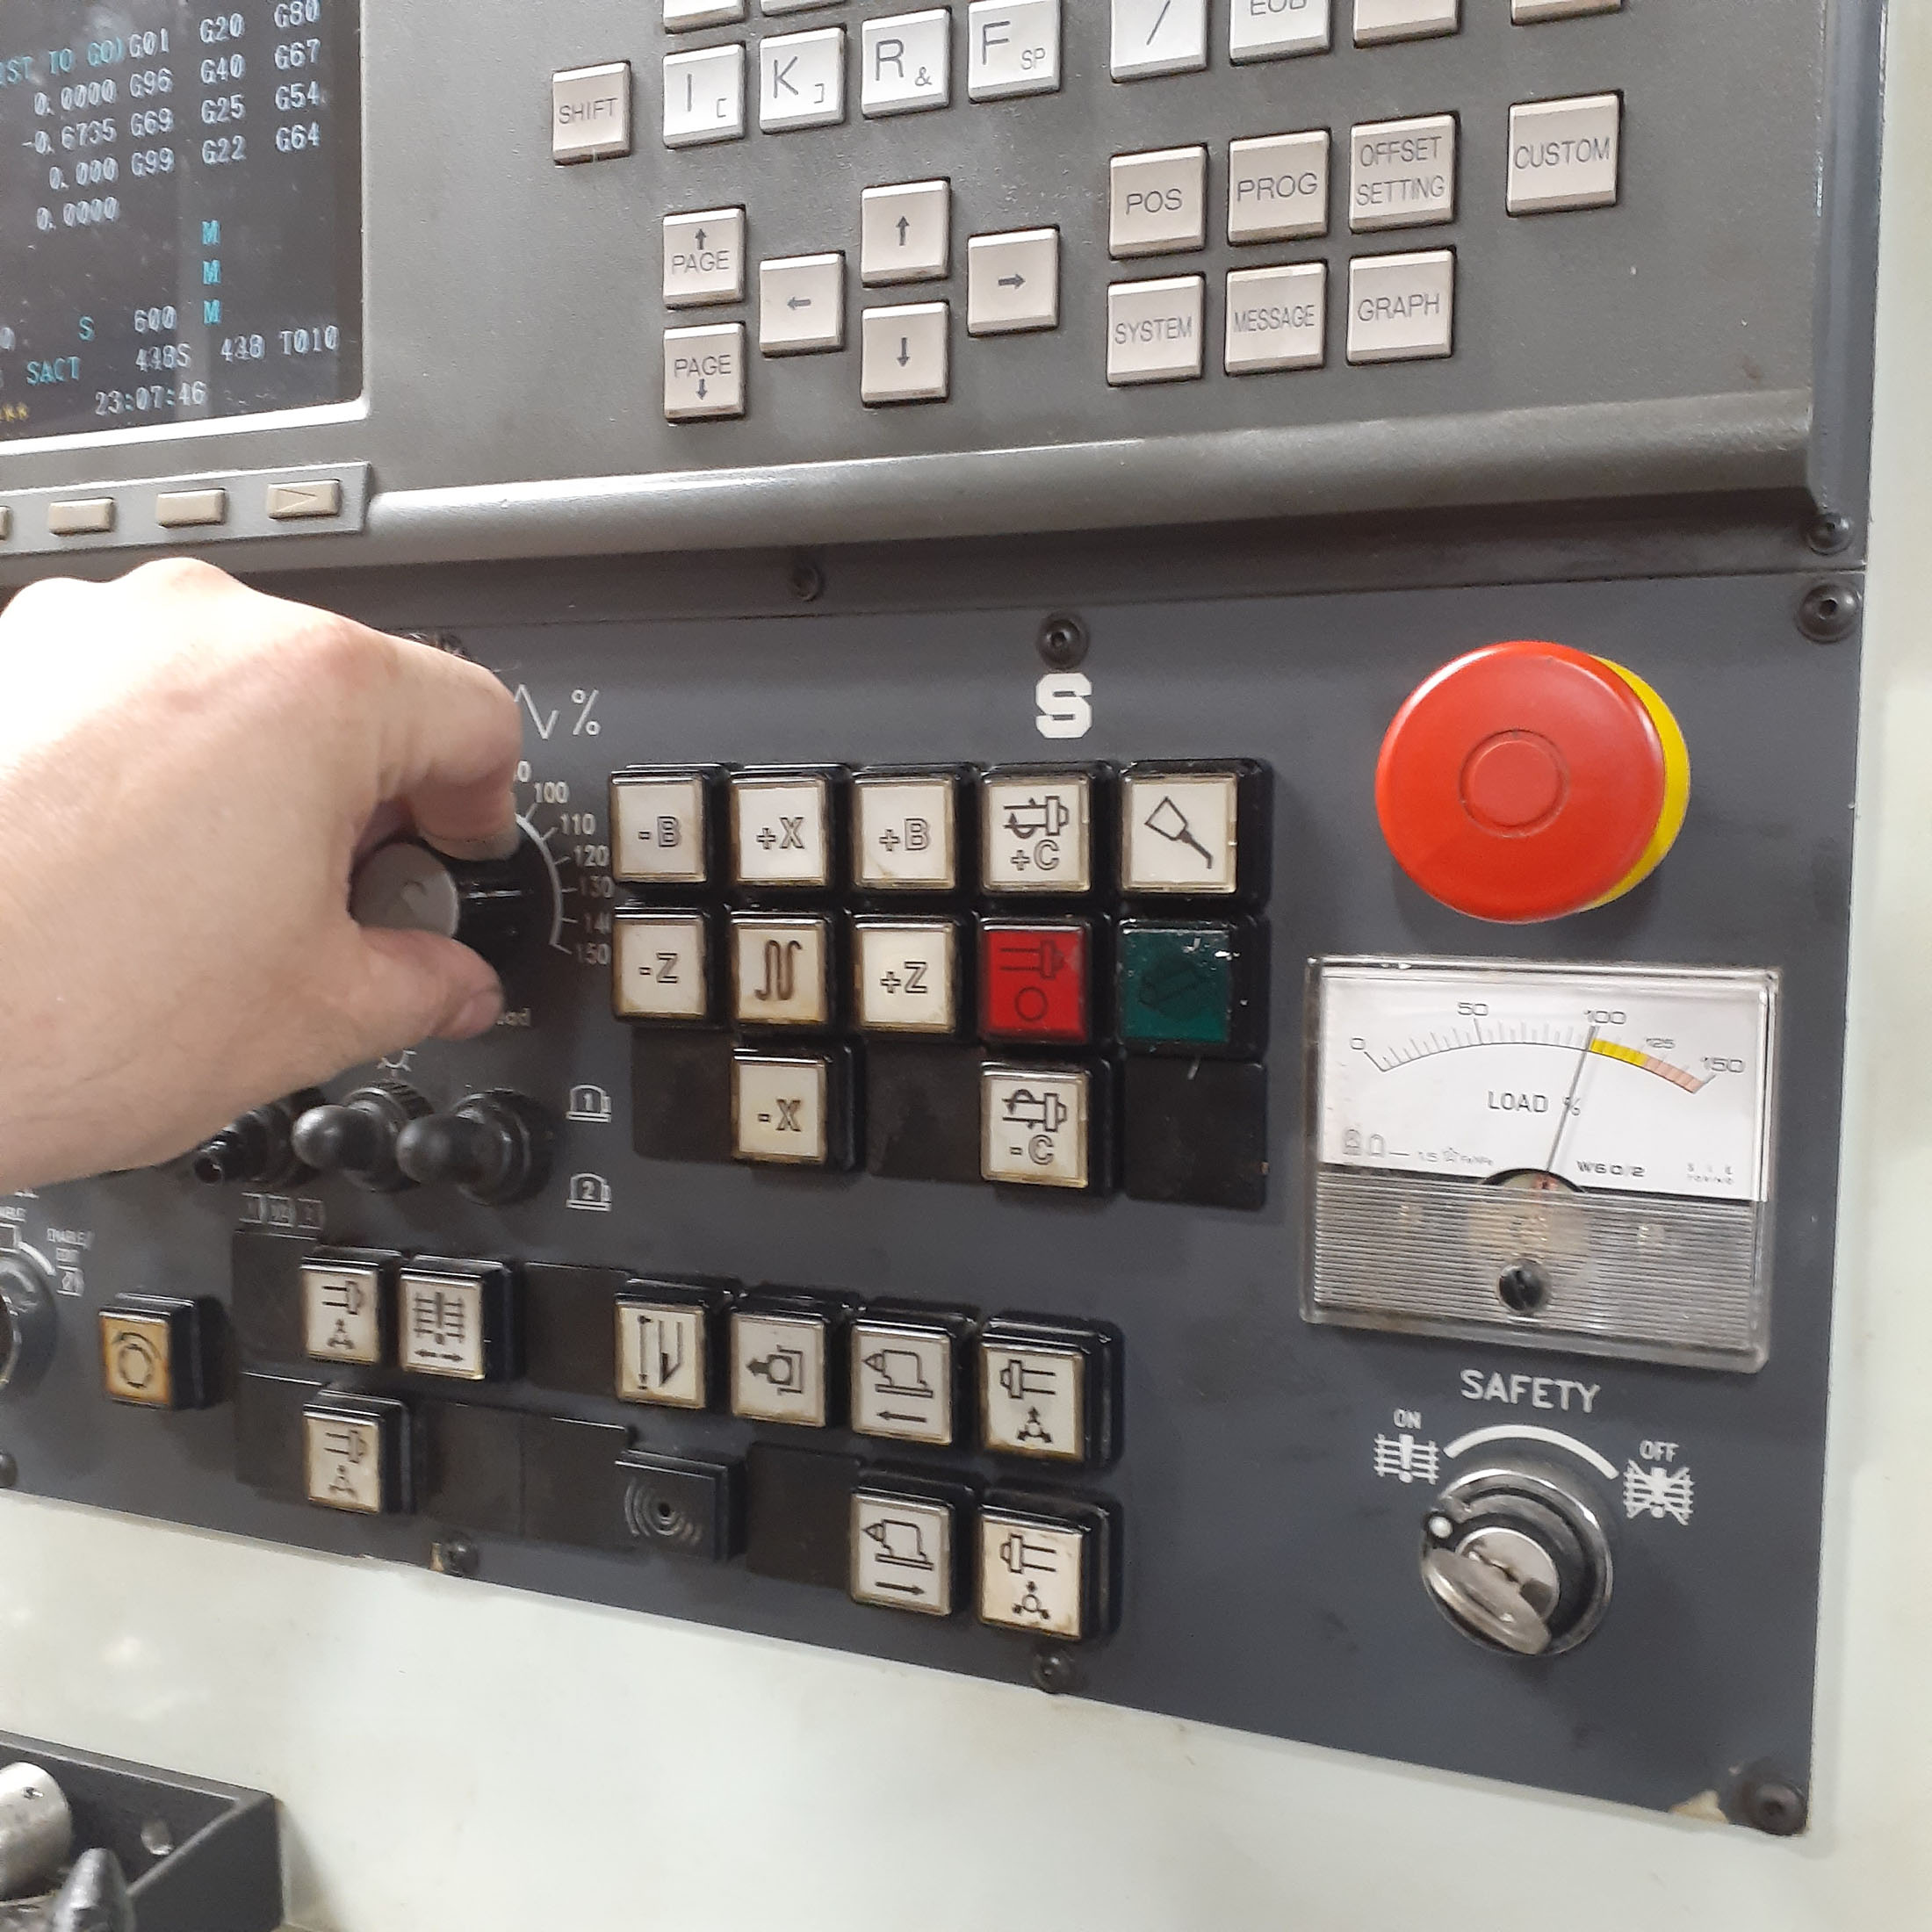
Making the lathe work for its money! Usually, I’m turning aluminum or mild steel so the cutting forces are low and running near 100% spindle load seems like useless wear on the machine. I’m never in that much of a hurry to make a part. Cutting 4340 is a different story! A middling roughing cut for aluminum is getting close to the limit with 4340. I guess not much of a surprise, as even strong aluminum maxes out at 70ksi or so and this allow came with spec sheets showing a 270ksi ultimate strength!
Time to clean the chip tray. Most of the OD turning was formed into nice short chips, but the grooving operation produced some long stringers which can easily get caught up. And they are high strength steel, so not easy to break. Tin snips to the rescue!
The next machining steps are best done on the mill. First will be profiling the counterweights and tungsten slug pockets while clamped vertically in the vise, then comes creating the pin offset while mounted in the 4th axis.
