Images need to be added.
Thank you for purchasing a Bambu High Access Door Hinge kit. This product was designed with the highest quality materials by Cosentino Engineering and assembled with care by MFC Machining & Design at their Dover, NJ facility. 304 Stainless steel links and brass thrust washers provide long life with an attractive brushed finish. These multi-link hinges for the P1S and X1C allow greatly improved access to the build chamber and retain the clean exterior profile and original design intent for a near invisible and highly functional upgrade. The increased swing angle of 160° combines with the multi-link hinge’s compound motion to move the entire door away from the enclosure opening, allowing better access to the build chamber and printhead than ever before.
If you have any questions, problems on installation, or suggestions on improving the product, please send an email to p1s-hinge@cosentinoengineering.com
Tools needed:
- 1.5mm allen wrench
- 2.0 allen wrench
- 3/16″ hex socket
- electric screwdriver
- socket driver
- Torx t8 driver
- small flat head screwdriver
- adhesive cleaner
To install the kit, please use the following instructions:
- Remove the door using the Bambu guide ‘Replace the Front Door Mounting Kit’ and stop at Step 3. Use the 1.5 and 2.0mm hex keys for this. When using the Bambu video as a guide, stop at 2:10. Yes, you have the bend the frame a little to get the screw out. Hard to believe that is their instruction, but there it is. I had best result wedging a small flat head screwdriver between the bottom edge of the frame and the left edge of the screw head and twisting back and forth a few times to open that gap up. This is a needed step, even to just replace the OEM hinges.
- Clean the original adhesive from the glass to ensure a flush installation.
- Reusing the original (2) small M2 screws, assembly the top of the upper hinge tab to the OEM holes and alignment features. Do not tighten these fully to allow for correct final positioning of the hinge.
- Using a cordless screwdriver and 3/19″ socket, install the (2) self drilling screws into the provided holes, ensuring that the rear edge of the mounting bracket is flush with the bend in the Bambu sheet metal frame. Use care so that the cordless screwdriver does not over-torque and strip the threads.
- Tighten the two screws from Step 3, ensuring that the long edges of the bracket are parallel with the frame.
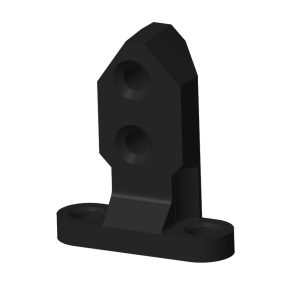
- Reusing the original (2) self tapping screws from Step 1, assemble the provided 3D printed mount to the lower hinge’s original mounting holes. Orient the mount such that the chamfered side of the (2) holes is facing the door.
- Using the (2) provided flat head screws and Torx T8 driver, mount the lower hinge assembly to the 3D printed mount. Do not tighten these screws completely, just snug them up.
- Using a cordless screwdriver and 3/16″ socket, install the (2) self drilling screws into the provided holes, ensuring that the rear edge of the mounting bracket is flush with the bend in the Bambu sheet metal frame. Use care so that the cordless screwdriver does not over-torque and strip the threads. A low setting for the torque limiting feature on most electric screwdrivers should be used for this.
- Tighten the two screws from Step 7, ensuring that the long edges of the bracket are parallel with the frame. Use care so that the 3d printed part is not damaged from excessive torque.
- Leaving the adhesive tape cover strip still attached, reinstall the glass door using the original screws and rubber grommets to check squareness and alignment with the enclosure during opening and closing. Slightly loosen, shift, and re-tighten the mounting screws as necessary to obtain the correct position. Make a note of this position by placing guide marks on the glass door using a non-permanent marker.
- Remove the door and check all hinge chassis mounting screws for tightness.
- Remove the adhesive tape cover strip and using the original screws and rubber grommets carefully reinstall the door onto the two hinge brackets, using the guide marks from Step 10 to ensure proper alignment.
- With the door open, use a spring loaded clamp or 3D print the preload tool to preload the glass door to the double sided adhesive tape. Leave this clamp on 8hrs/overnight to ensure a strong bond to the glass door.
- After removing the spring clamp, clean the glass door and use your printer as usual, while enjoying the increased access to the build chamber.

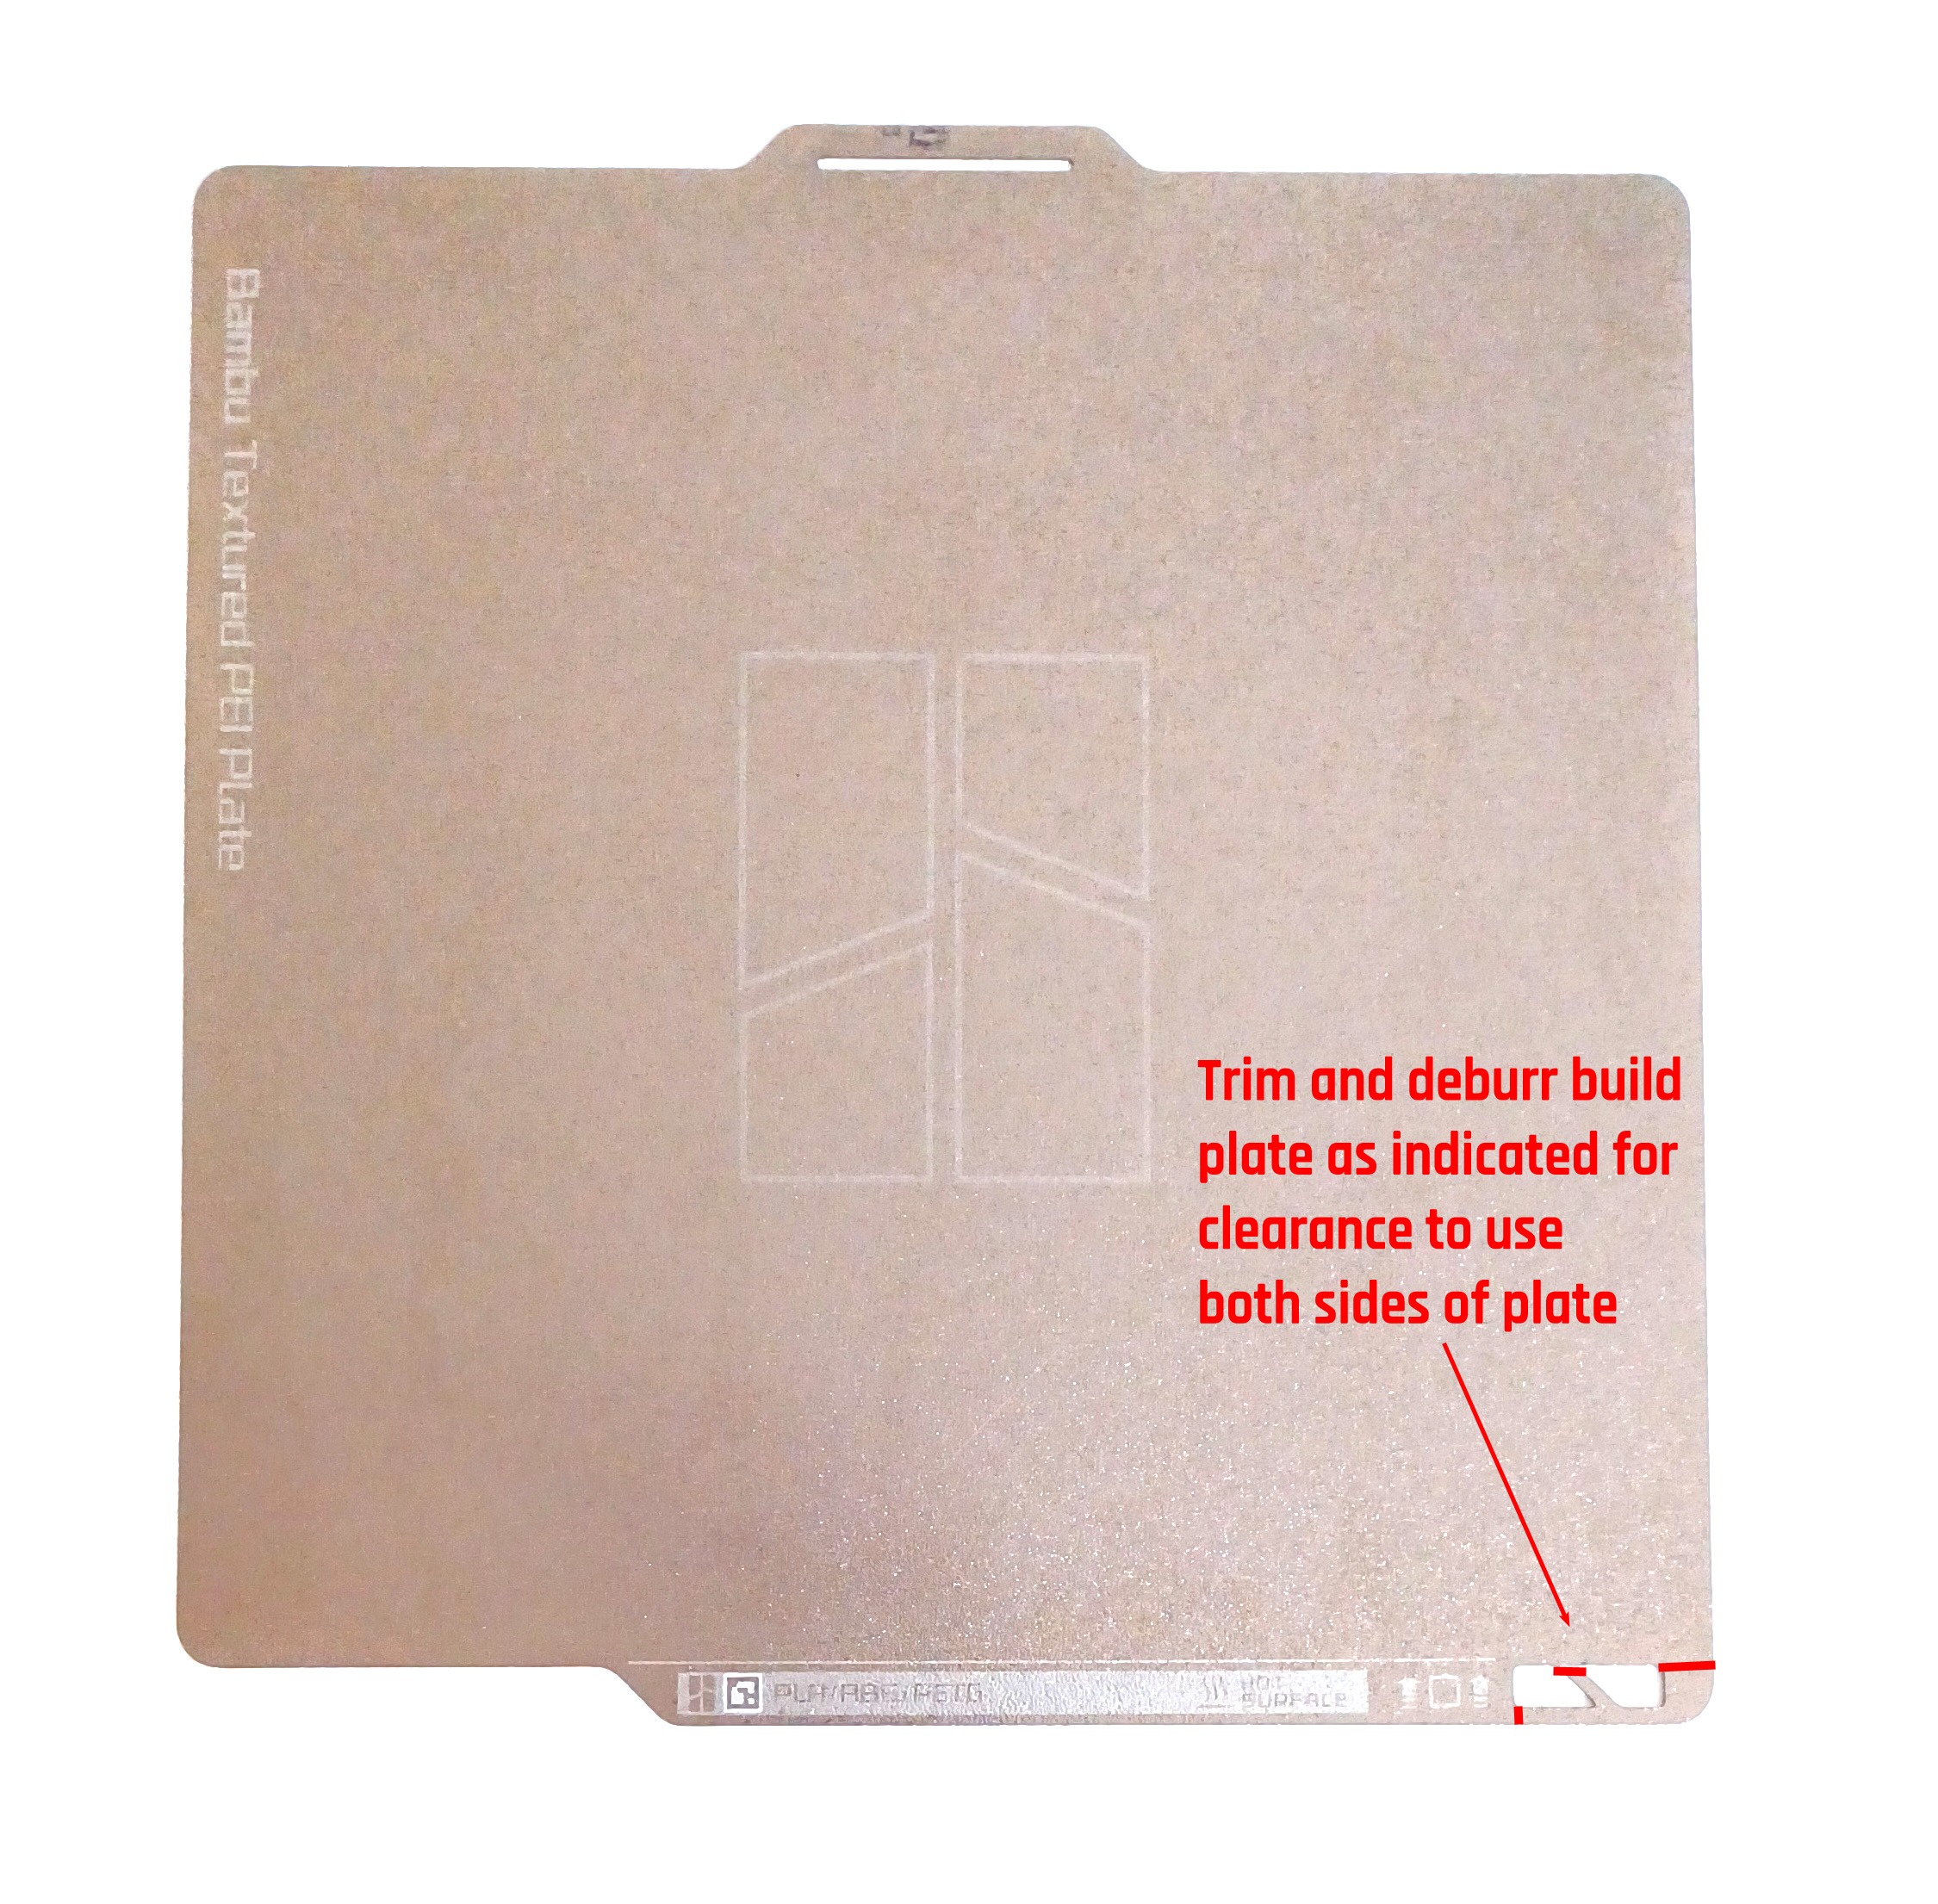
Build plate note: The OEM build plate works for one sided use, but to use the other side or to use aftermarket build plates, the corner of the build plate should be removed with a Dremel to prevent interference with the hinge body. This modification to the build plate does not reduce the build volume.
If hinge operation is slightly stiff, especially near the fully closed position, a small amount of lubricant (WD-40, penetrating oil) can be applied to the joint pivots.